Introduction
This guide walks through setting up a secured (lockdown) Azure CycleCloud environment integrated with a Slurm cluster.
Architecture Overview
The setup involves a fully integrated environment where:
- CycleCloud cluster is deployed in snet-cc
- Slurm nodes are deployed in snet-worker, which is isolated from the internet.
This setup uses:
- Azure CycleCloud version 8.7
- Azure CycleCloud-Slurm version 3.0.5
- Slurm version 23.02.06-1
Prerequisites
Virtual Network and Subnets
(1) Virtual Network
- Name: vnet-cc-slurm
- Address space: 10.0.0.0/16
(2) Subnets & NSGs
| Name | Address Prefix | NSG |
|---|---|---|
| snet-cc | 10.0.0.0/24 | nsg-snet-cc |
| snet-slurm | 10.0.1.0/24 | nsg-snet-slurm |
| snet-pe | 10.0.3.0/24 | nsg-snet-pe |
| snet-worker | 10.0.4.0/24 | nsg-snet-worker |
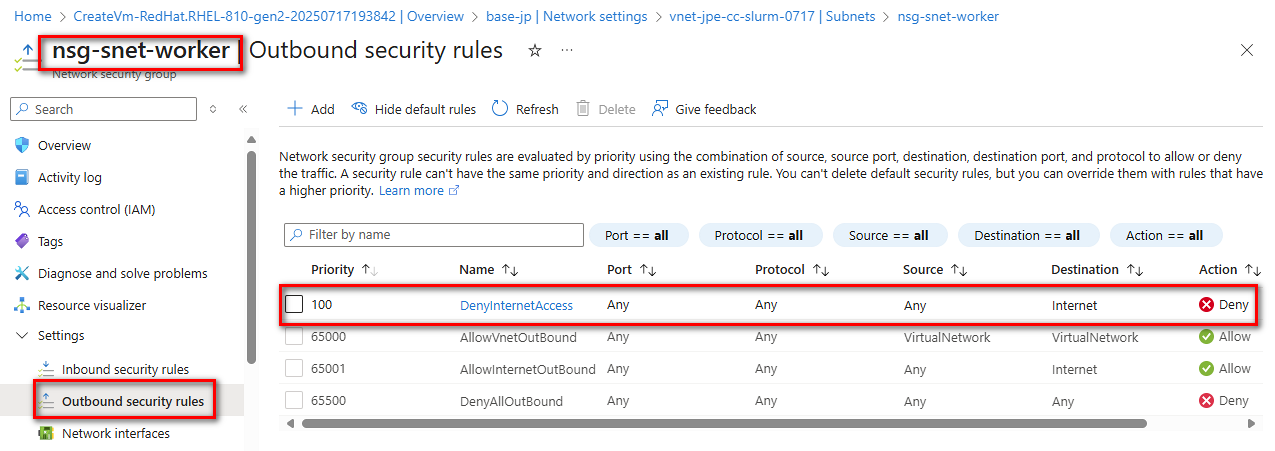
- Configure snet-worker with outbound internet access denied for lockdown simulation.
![]()
Azure CLI Setup
Create NSGs and subnets using the provided CLI snippet (see full guide above for commands).
1 | rg=rg-jpe-cc-slurm-0717 |
Deploying the CycleCloud Cluster
(1) Deploy CycleCloud using the official documentation. Access Web UI via http://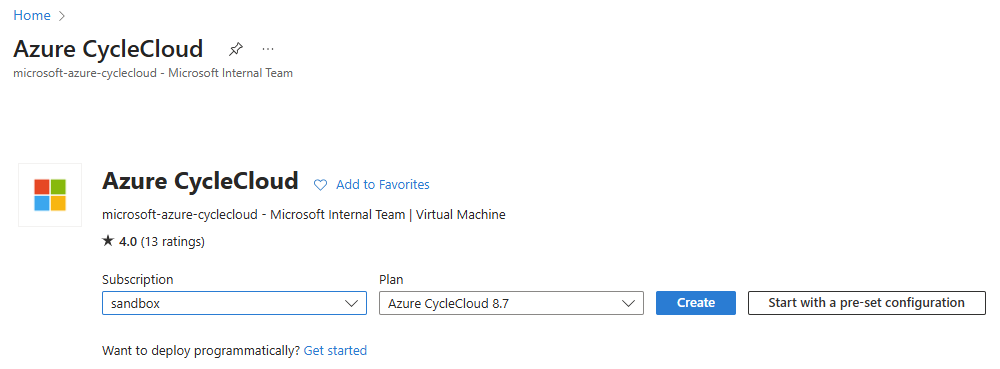
(2) Create a private storage account for the locker with private endpoint enabled.
Storage account >> Security+ networking >> Networking >> "Private endpoint connections" tab
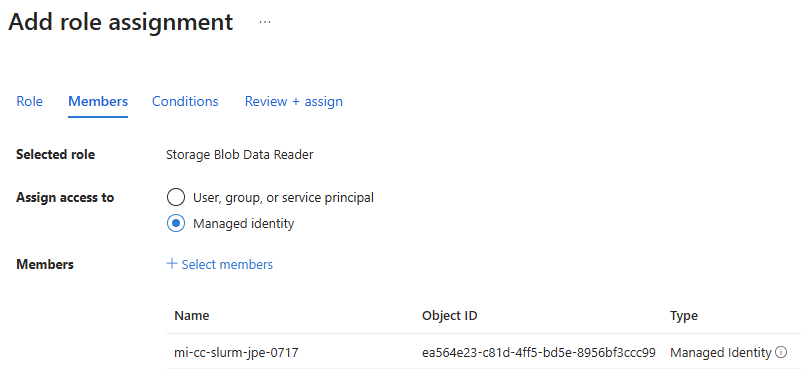
(3) Create a User Assigned Managed Identity.
Grant Storage Blob Data Reader role on the storage account.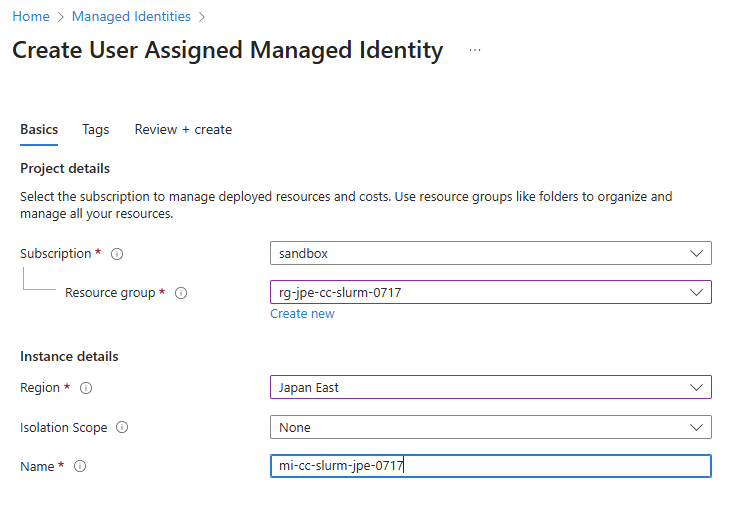
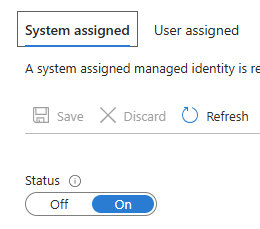
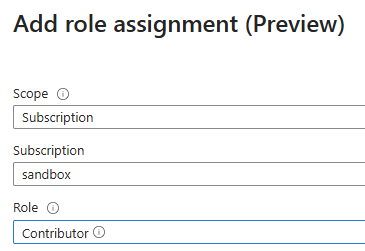
(4) Enable System Assigned Managed Identity on CycleCloud VM. Assign Contributor role to the CycleCloud VM’s System Assigned Managed Identity on the Subscription.
Security >> Identity >> "System assigned" tab >> "Azure role assignments" button
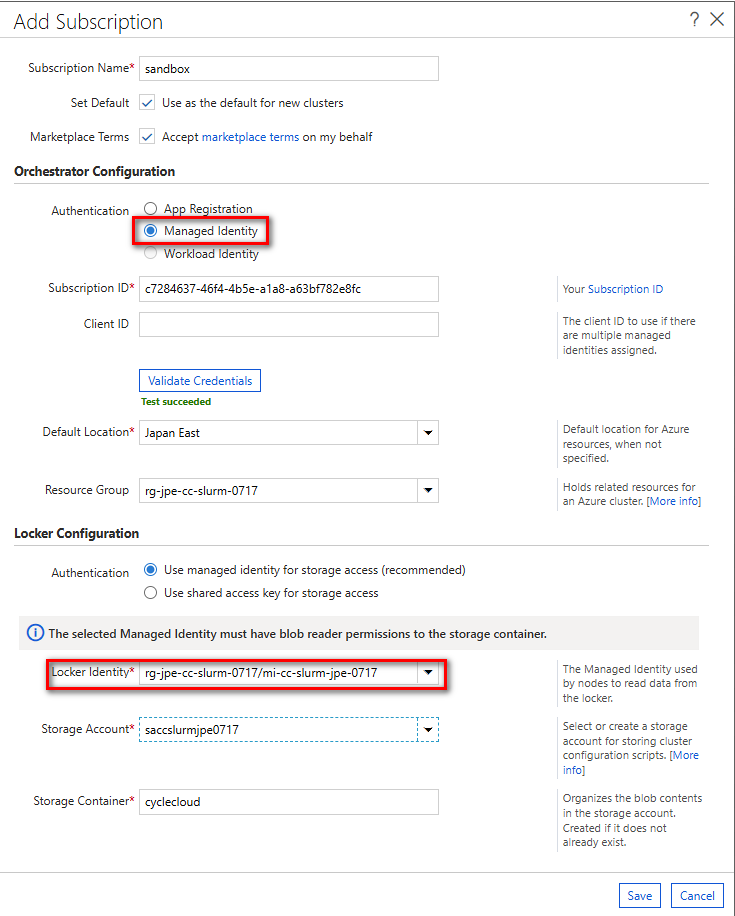
(5) Add your subscription to CycleCloud via Web UI.
Building the Slurm Cluster Template
Configure CycleCloud Project on CycleCloud Server
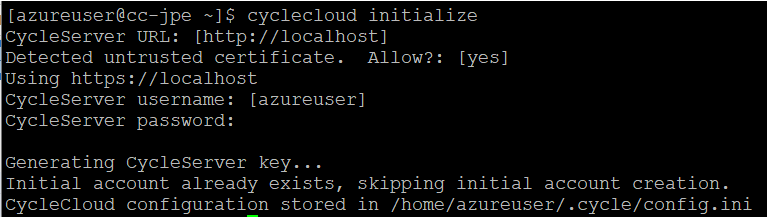
(1) SSH to the CycleCloud server VM and run the following commands
1 | cyclecloud initialize |
(2) Fetch and Build Slurm Project
1 | cyclecloud project fetch https://github.com/Azure/cyclecloud-slurm/releases/3.0.5 slurm305 |

(3) Modify Install Script for Lockdown Environment
Edit rhel.sh under blobs/azure-slurm-install/ to include offline installation logic and required RPM repo (e.g., codeready-builder for perl-Switch).
1 | cd blobs |
Modify the following lines to the script:
1 | if [ "$OS_VERSION" -gt "7" ]; then |
(4) Repackage the install package
1 | tar -czvf azure-slurm-install-pkg-3.0.5.tar.gz azure-slurm-install/ |
(5) Copy to CycleCloud Staging Area
1 | cp -r build/* /opt/cycle_server/work/staging/projects/slurm/3.0.5 |
(6) Update Template & Upload
Edit templates/slurm.txt to reference the correct cluster-init blocks as below:
1 | [azureuser@cycle-twn slurm305]$ grep cluster-init templates/slurm.txt |

(7) List the locker:
1 | cyclecloud locker list |

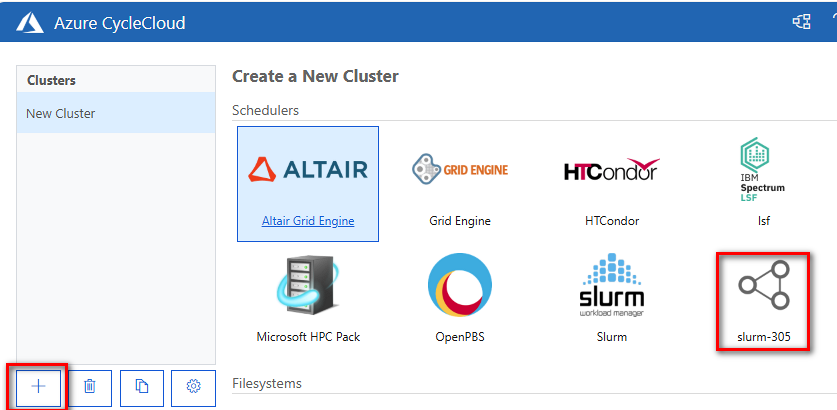
(8) Import the Slurm Template into CycleCloud
1 | cyclecloud import_template slurm-305 -c slurm -f ~/slurm305/templates/slurm.txt |

Deploying the Slurm Cluster
(1) Create new Slurm cluster using the slurm-305 template.
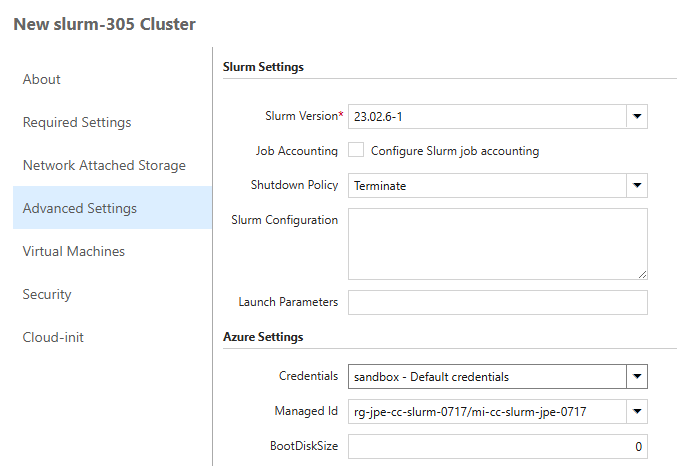
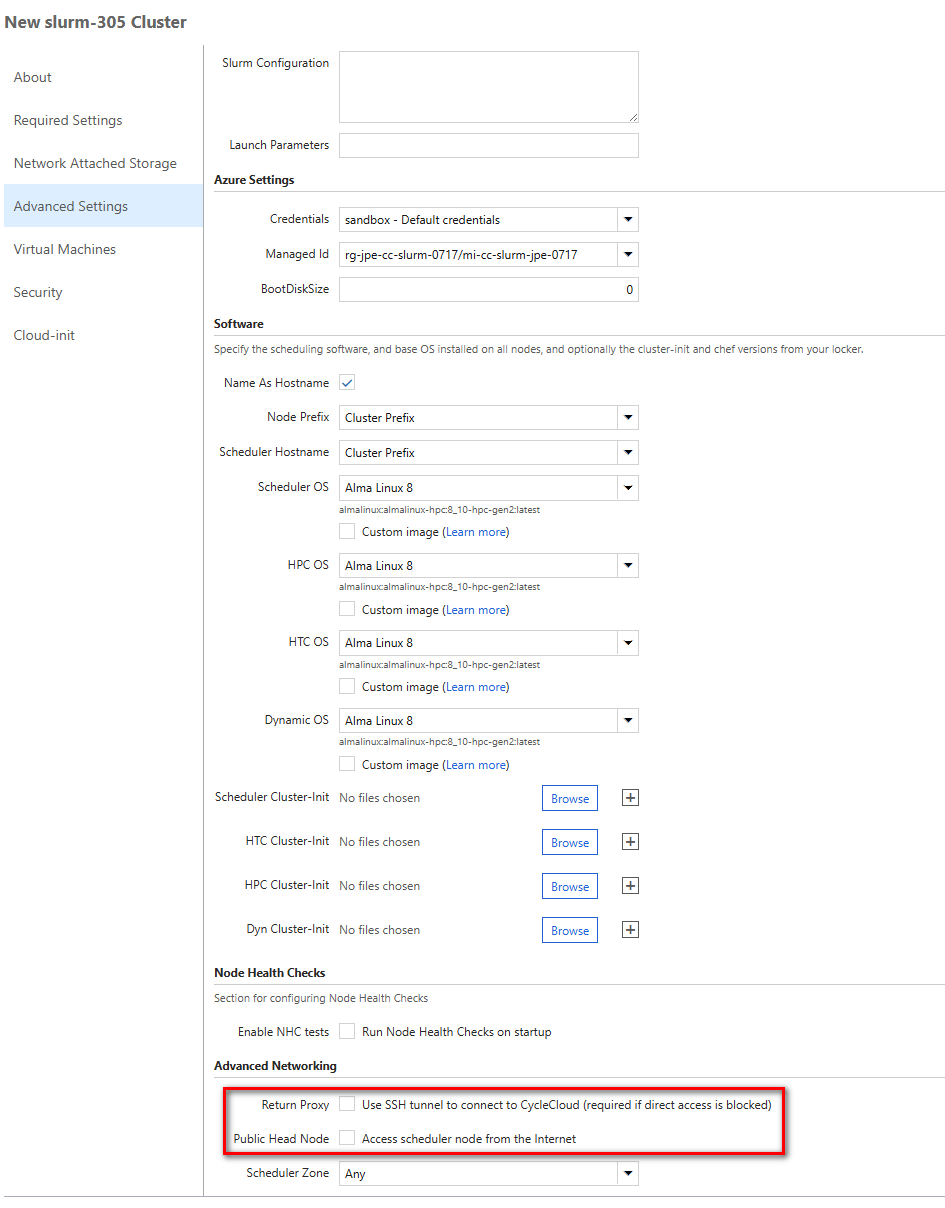
(2) Configure the cluster:
- Choose snet-worker for networking (lockdown simulation).
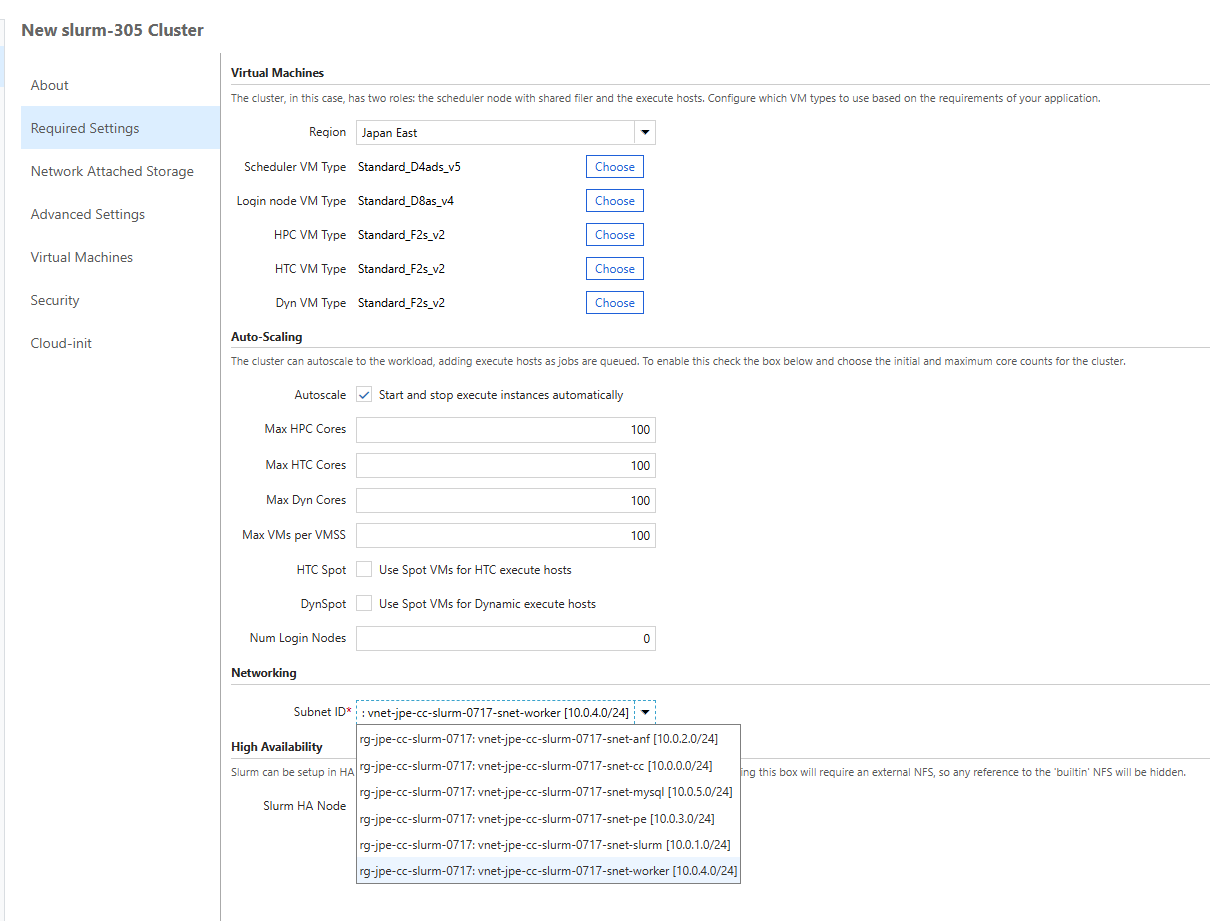
- Use custom User Assigned Managed Identity.
- Disable Return Proxy & Public Head Node under advanced networking.
Preparing the Custom VM Image for Slurm
Create a new RHEL 8.10 VM with Internet Access as a base image.
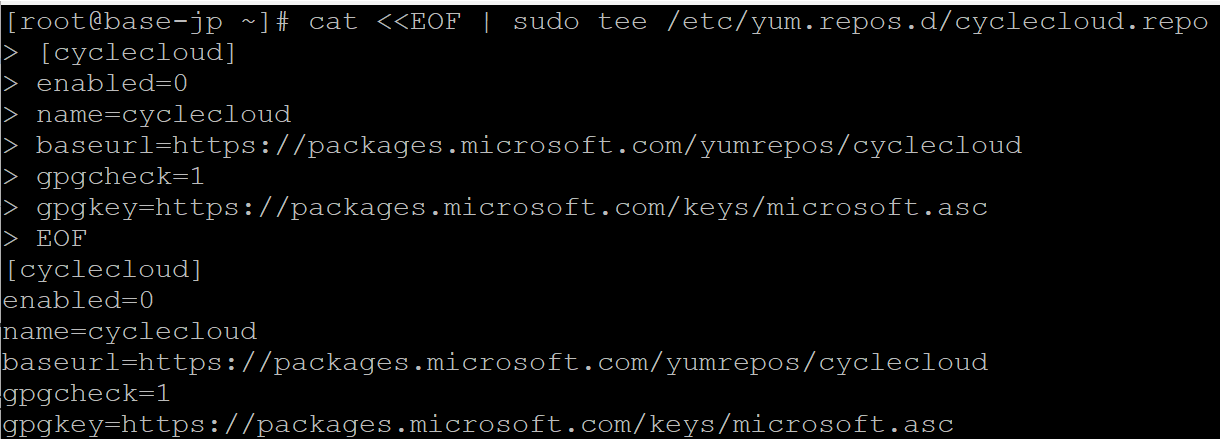
(1) Enable cyclecloud repo manually
1 | sudo -i |
(2) Download all necessary RPMs and install the required packages
1 | yum update |
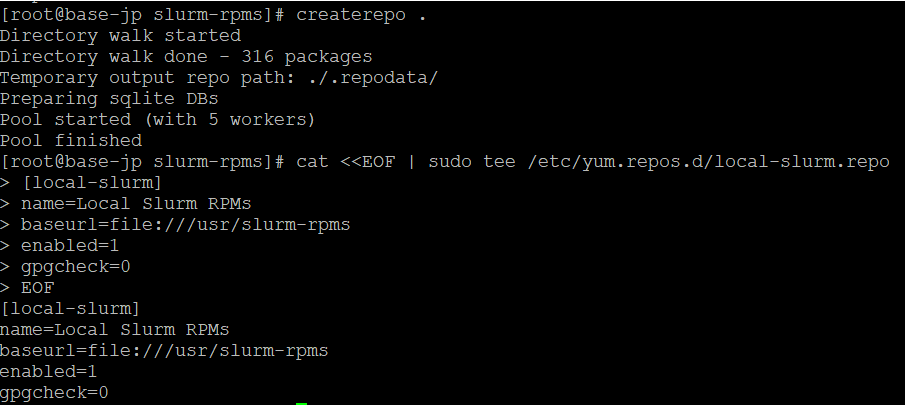
(3) Configure as local yum repo with createrepo
1 | createrepo . |
(4) Offline Python Environment
Download and extract a prebuilt Python virtual environment to /opt/azurehpc/slurm/.
The offline Python environment can be created using a Slurm Scheduler VM with internet access, then copied over. If you cannot access the internet, you download the tar file from here: http://tiny.cc/enlp001
1 | tar -xzf slurm_venv.tar.gz -C /opt/azurehpc/slurm |
(5) Configure Firewall (for NFS)
1 | firewall-cmd --permanent --add-service=nfs |
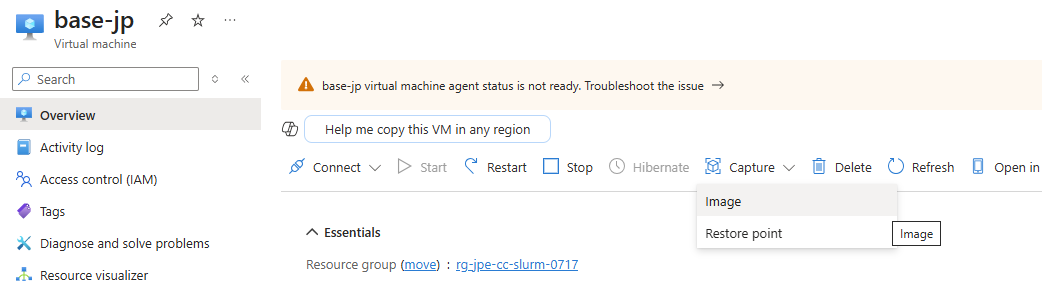
(6) Prepare VM for Imaging
1 | waagent --deprovision+user --force |
(7) Capture image and obtain image ID.

(8) Update Slurm cluster to use the custom image ID.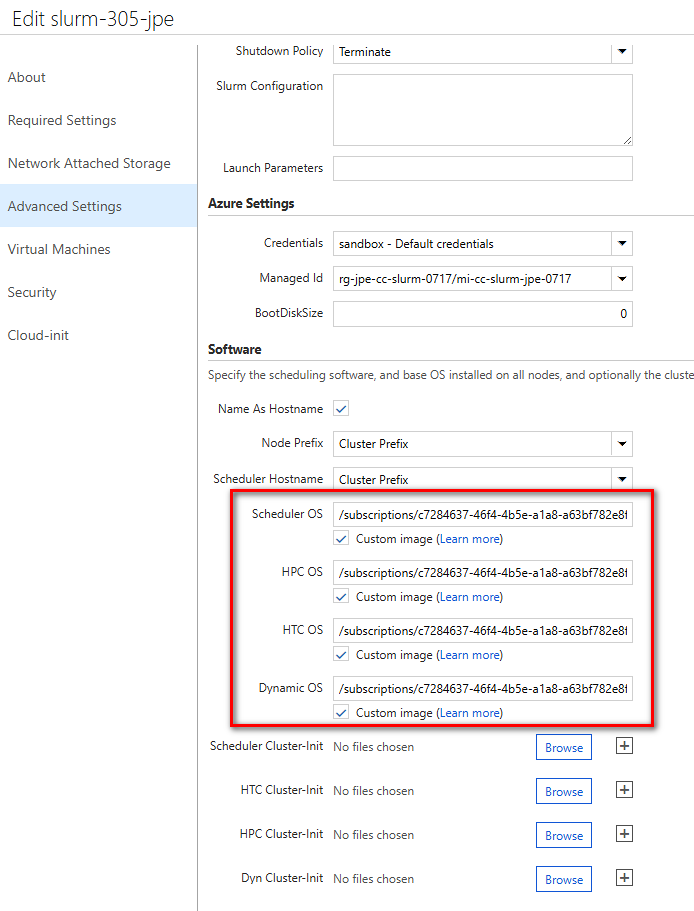
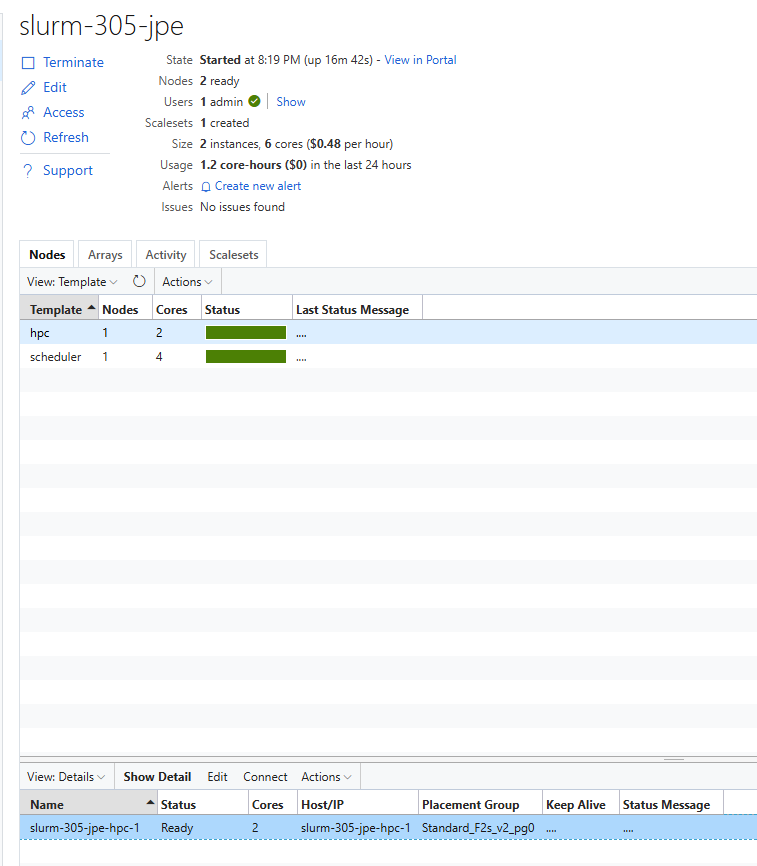
Verify the CycleCloud and Slurm
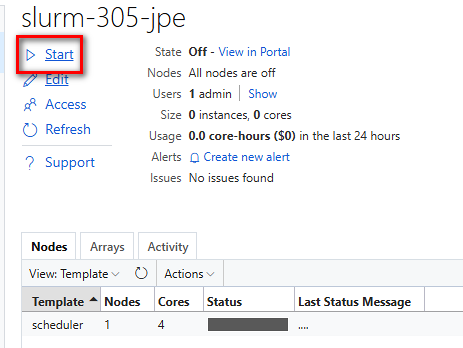
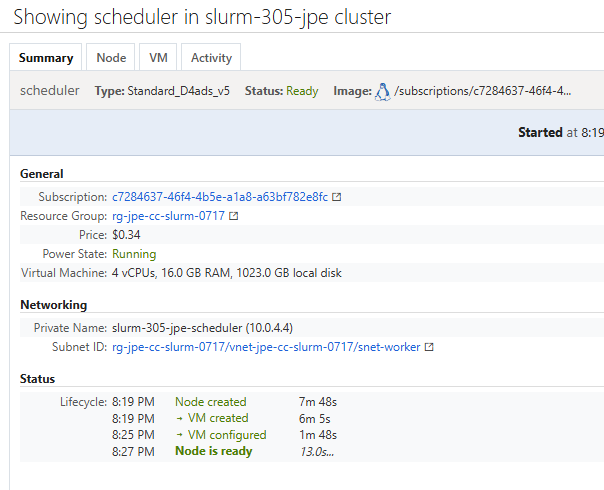
(1) Start cluster and verify scheduler status.
(2) SSH from CycleCloud server to scheduler and submit test job:
1 | sudo ssh-keygen -R 10.0.4.4 |

(3) Confirm compute nodes are ready.